|
Dahlberg Audio
Design.
| ||||
|
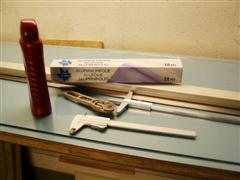
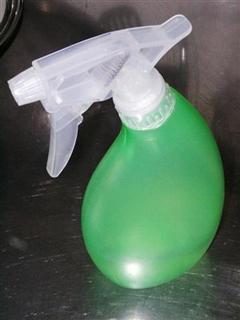
Things you will need for the ribbons: |
| |||
|
||||
|
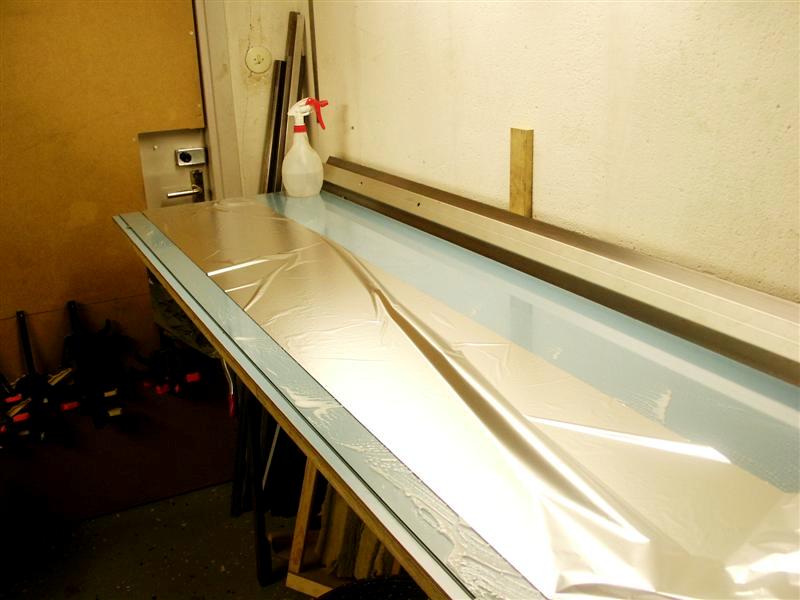
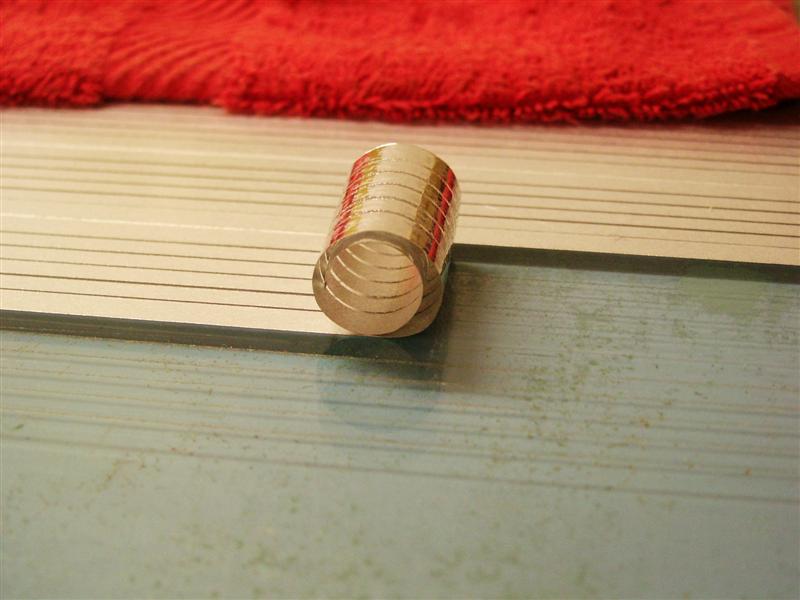
1. The glass-table has to be absolutely clean. Just a small speck can cause a lot of extra work. When that's done the glass-surface is covered with soap (very little water). Then the foil is applied. Great care is not necessary but try to avoid sharp edges. |
 |
 | ||
|
"soap-adhesive". |
Foil that needs a little more work. | |||
|
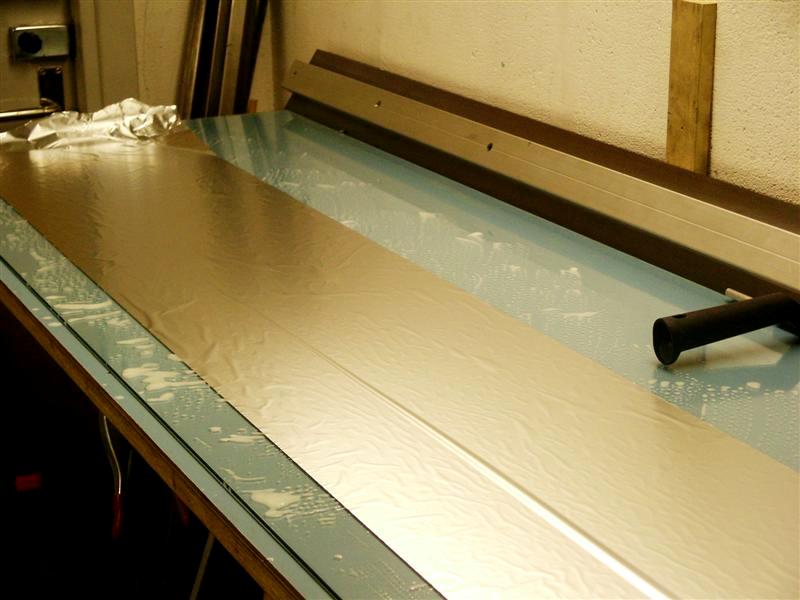
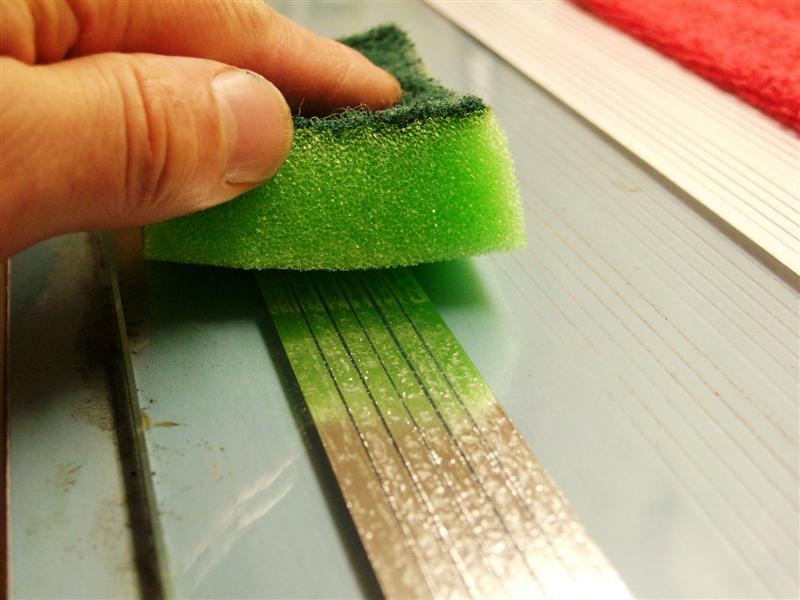
2. Then you spray the upper side with water (and a little soap to brake the
surface tension). Then start to sweep away the water with the rubber window
scraper, work from the middle and outwards. Then the foil will be
"glued" to the glass and any excess soap under the foil will be
removed. Small marks can be rubbed out. |
 |
 | ||
|
Not that bad. |
Water and a little bit of soap and the you work with the window scraper. | |||
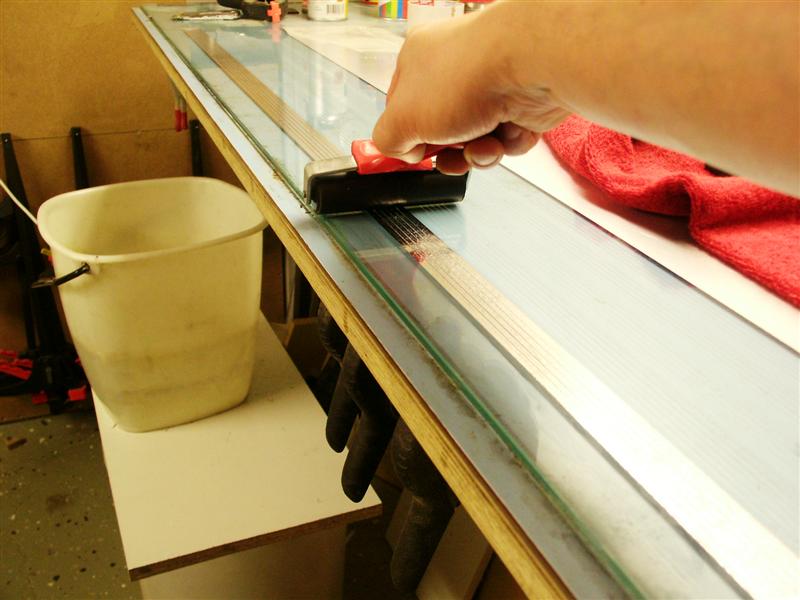
| 3. Now the foil has to be cleaned, this can't be done later. I'm using alcohol "isopropyl alcohol" from the pharmacy. Absolutely clean and it vaporizes immediately. |
 |
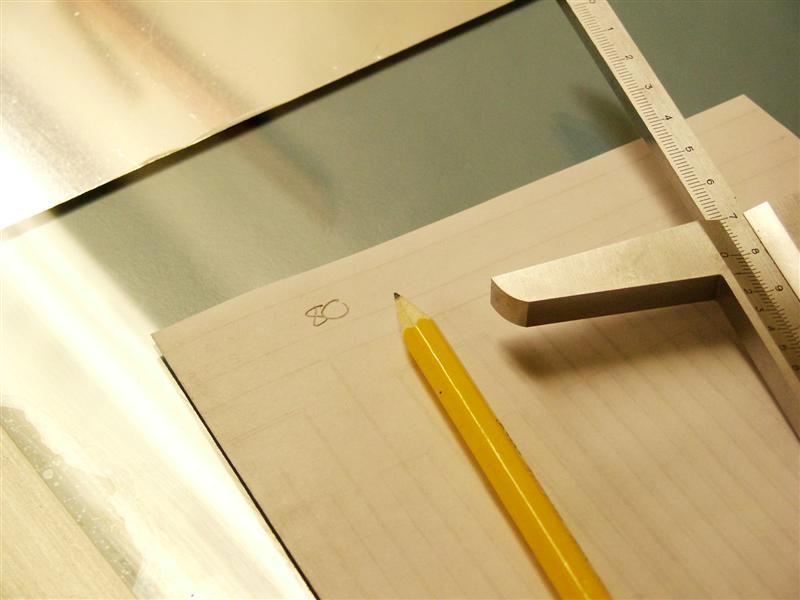 | ||
| Now the foil is clean and ready for cutting. | Calipers, paper and pen. | |||
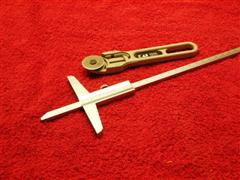
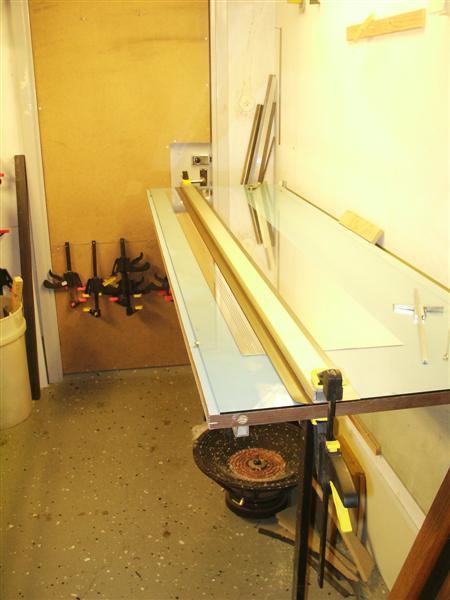
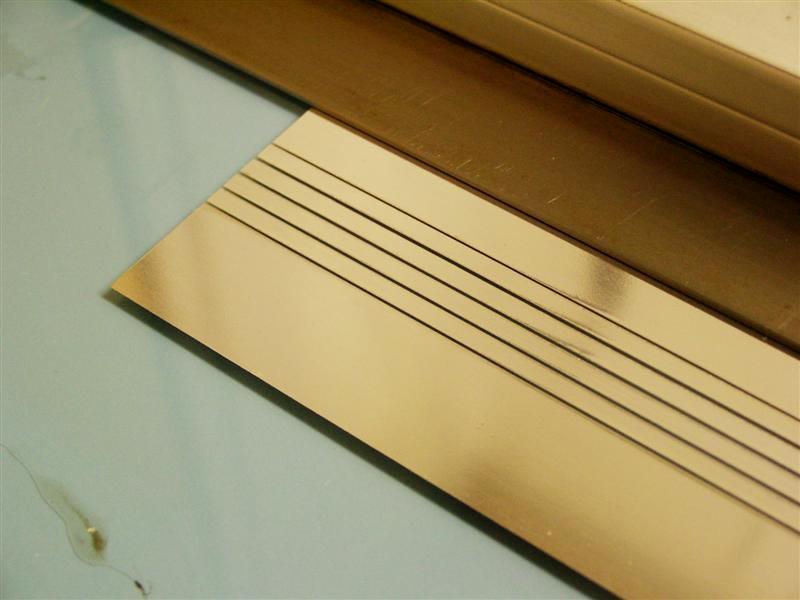
| 4. Time for cutting. Take out the calipers, ruler and the gluing clamps. Decide on a starting-point (say 30mm's from the tables edge) and write that down. Don't make any cuts at this point. Measure carefully. |
 |
|||
|
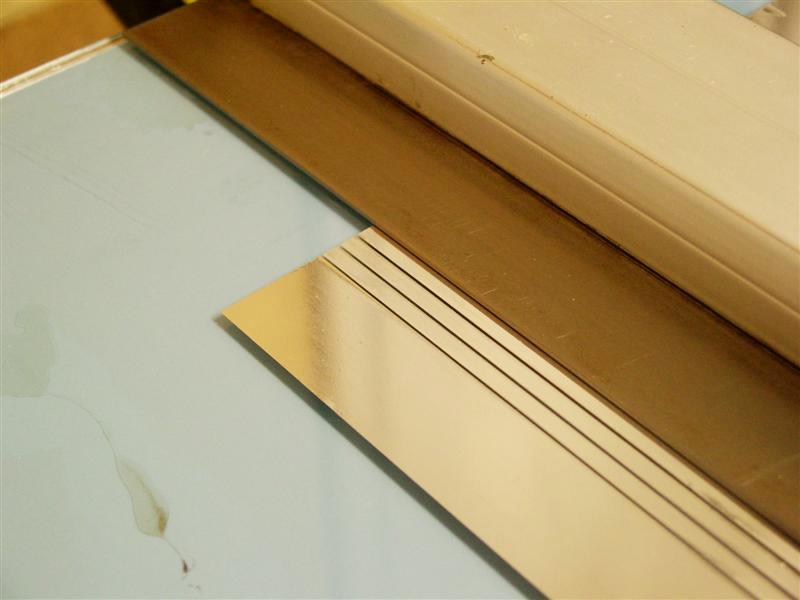
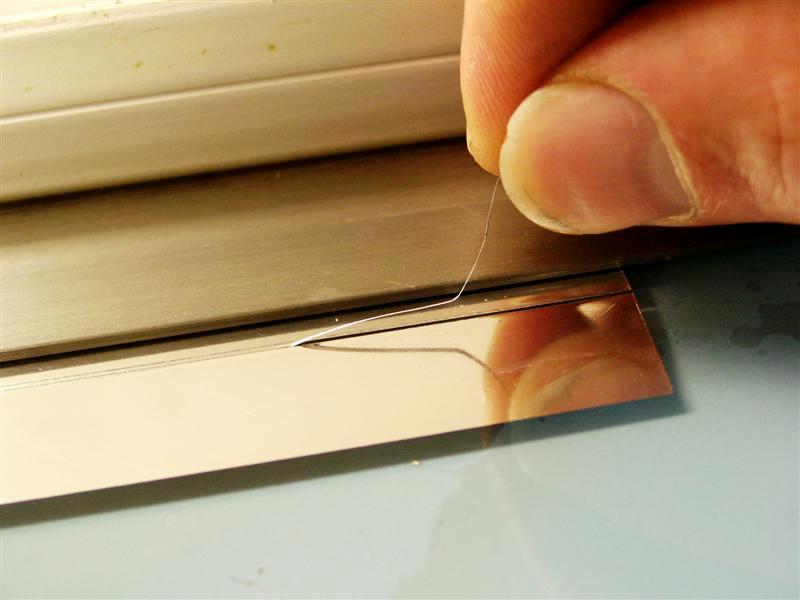
First cut. |
Second cut done and the first piece of waste is picked. | |||
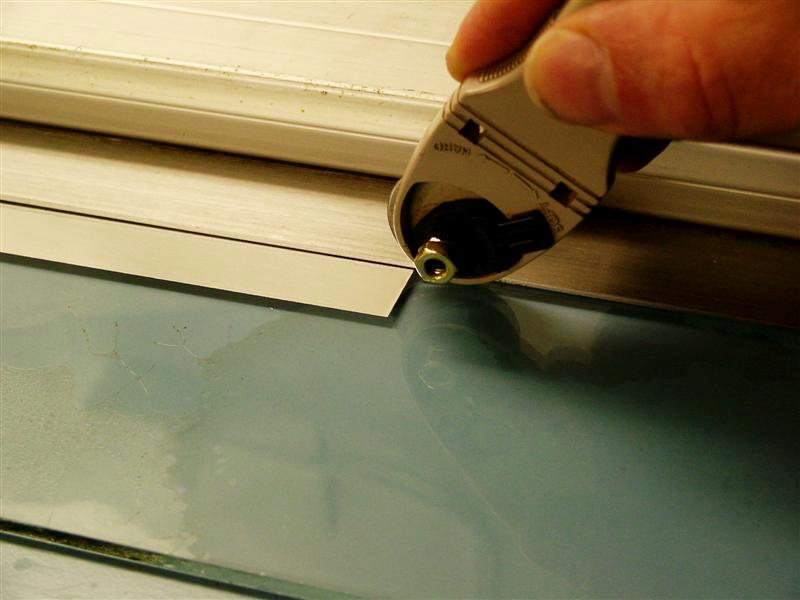
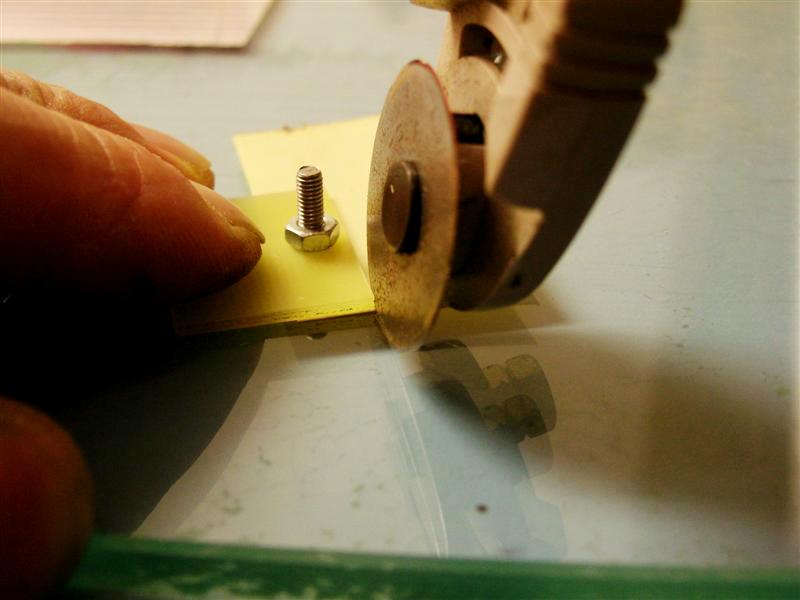
| 5. My ribbons have a first strip that's 5mm's wide so the first cut will be at 35mm's and the next cut at 35,5mm's. The gluing clamps will hold the ruler in place. It's very important that you do not change the angle of the knife from cut to cut. Take away the excess foil immediately. Next cut will be 3,5mm's further out on the glass and then an additional 0,5mm for the next cut. |
 |
 | ||
| Some stuff. | Now we are getting somewhere. | |||
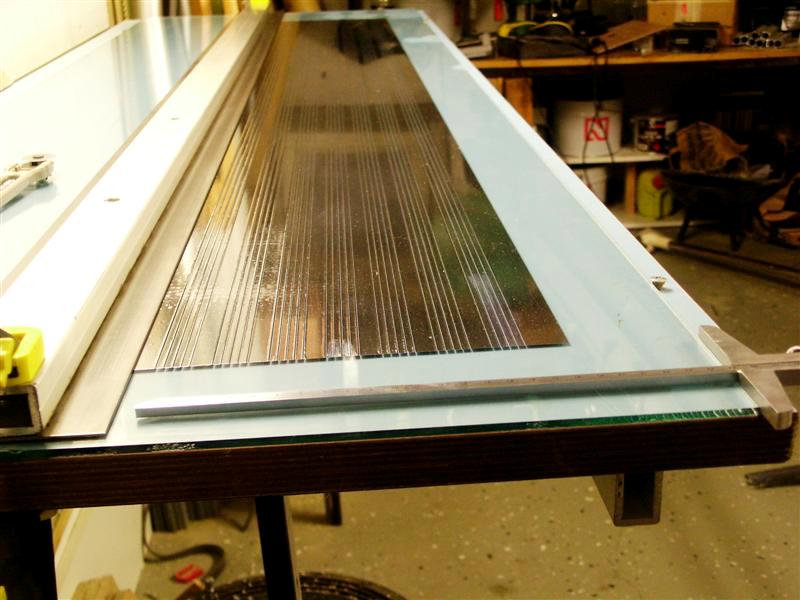
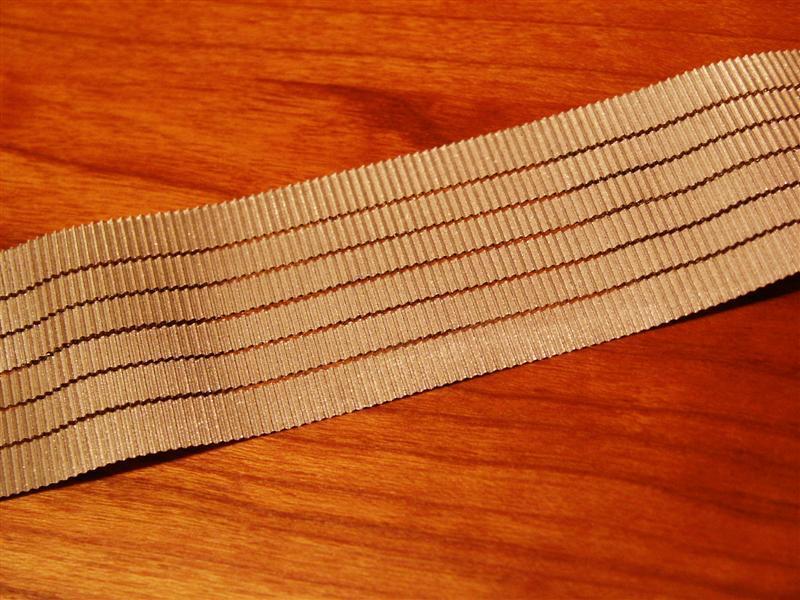
| 6. When the excess foil is removed we have our first strip (no:2) The first one will be completed in a later moment. Now we keep it up until we're almost done with the first ribbon. The last cut is to be left for a later time. |
 |
 | ||
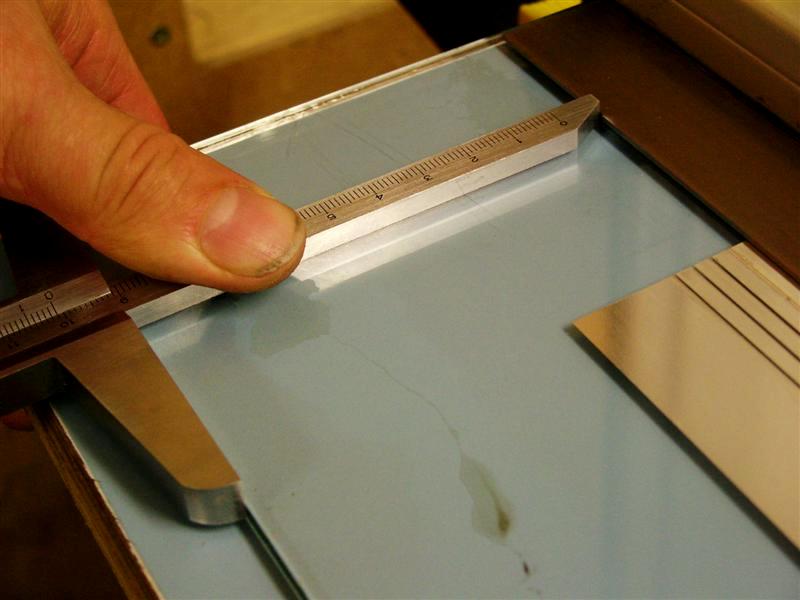
| These calipers can of course be replaced with a regular model. | Take notes where to make the cuts for the finished ribbons. Don't make any cuts here rigth now. If you look closely you can see a woofer ;-) | |||
|
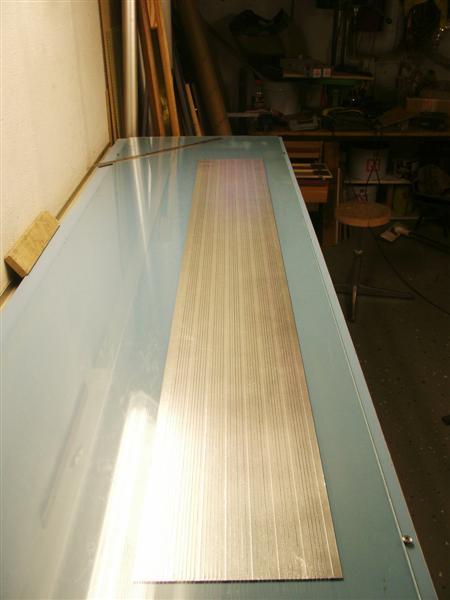
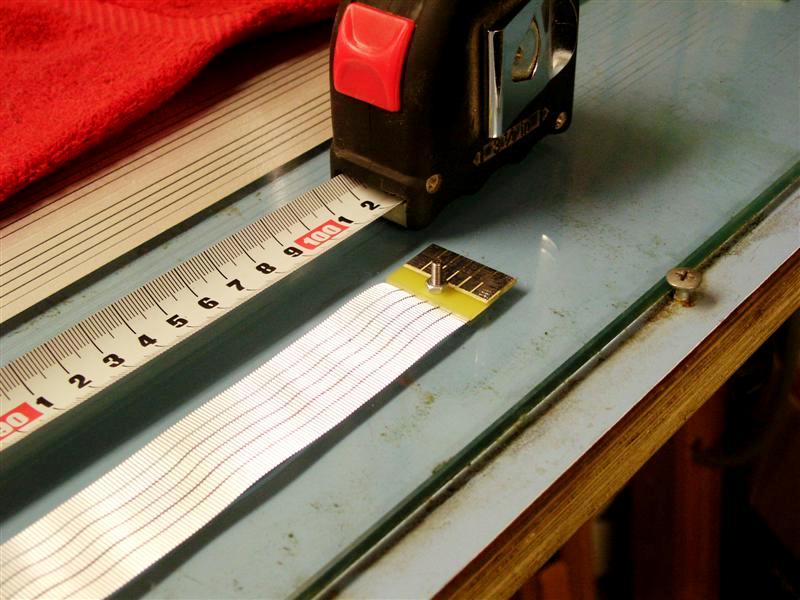
7. For each individual ribbon, omit the last cut. This will be done after the mounting of the mylar film. What should be done at this point is that you write down the measurement for the cut. My ribbons are 26,5mm wide so......... 30+26,5=56,5mm for that cut. Now you just have to keep it up in the same way until you run out of foil. |
 |
 | ||
|
Time for ribbon nr:2. |
The advantage of tall calipers is evident. | |||
| 8. Mounting of the Mylar film. You will need a dressed board and some masking tape. | ||||
 |
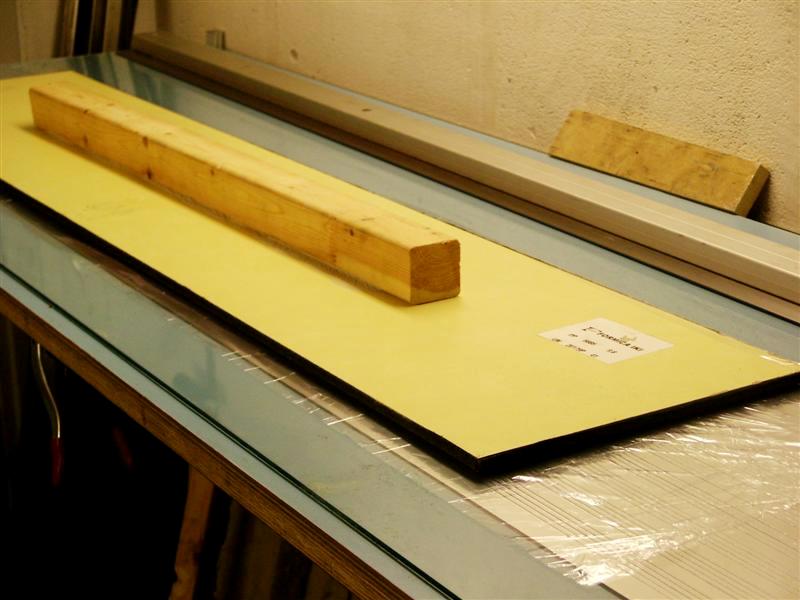 | |||
| 9. Stretch the Mylar film gently over the sides of the board with the help of the masking tape. Be careful, the film is very thin. The idea is to even out but not stretch the film. | ||||
|
I'm a little bit short on space so ...... |
Stretch the film gently too the back of the dressed board with the help of masking tape. I'm working on a better solution for this but... | |||
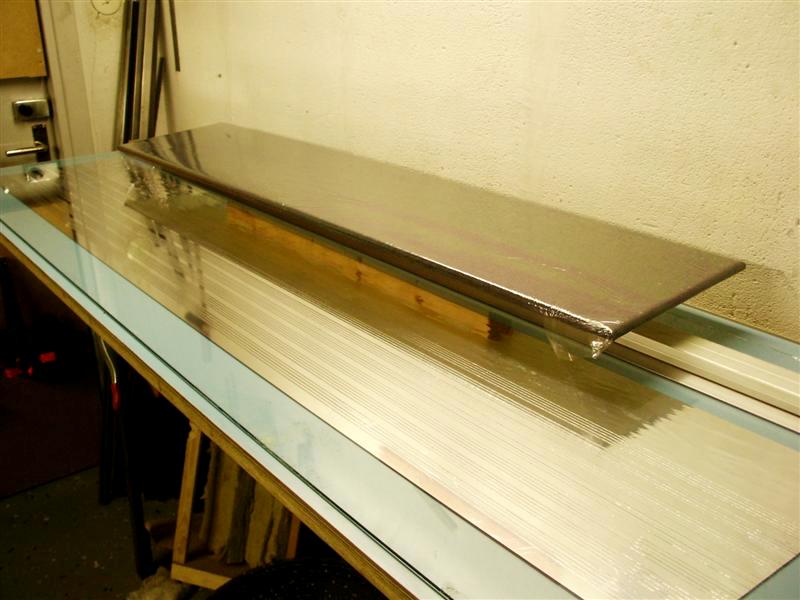
| 10. Spray the 3M adhesive on to the film. Don't pour it on but make sure that it's fairly even. When that is done you will place the board with the film down onto the foil. Make sure it's straight (maybe with a little help from a friend) and then gently press a few times over the board's surface so that the film will stick. Loosen the tape and lift the board to the side. | ||||
 |
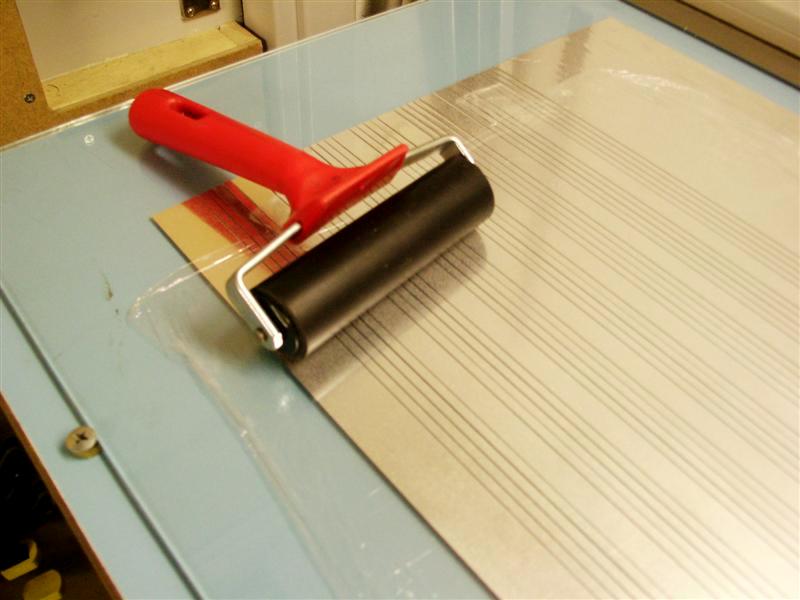 | |||
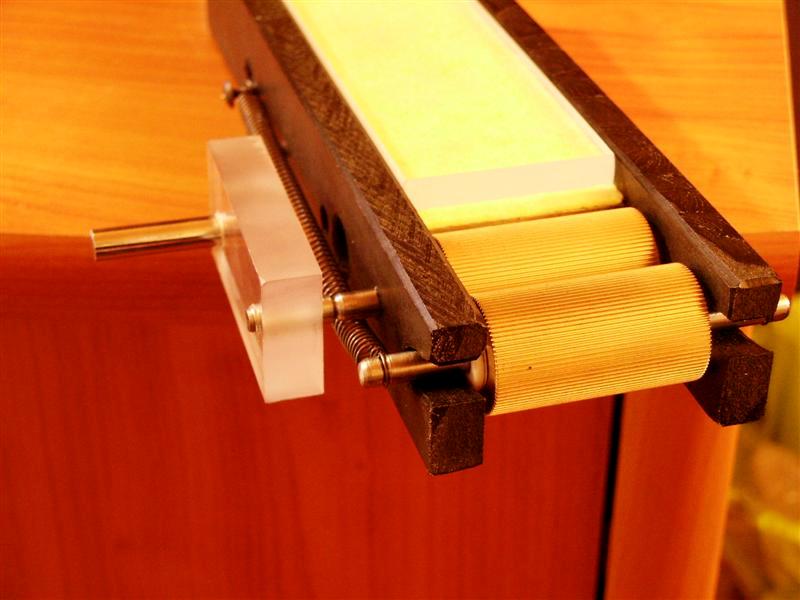
| 11. The rubber roller should be handled with care. Make sure that you do not twist it sideways, you might wreck a lot of work. Go over the whole surface with it to make sure that the film and foil hold together. Light pressure at first and then you can press a little harder. | ||||
| Just before the application of the adhesive. | Rubber roller. Is that the right name for i | |||


.jpg)


